

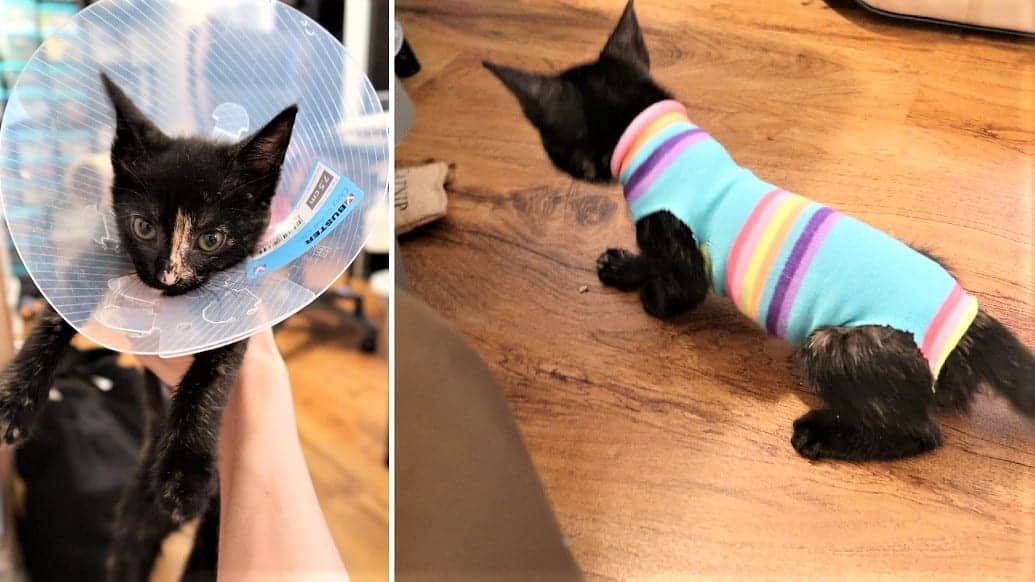
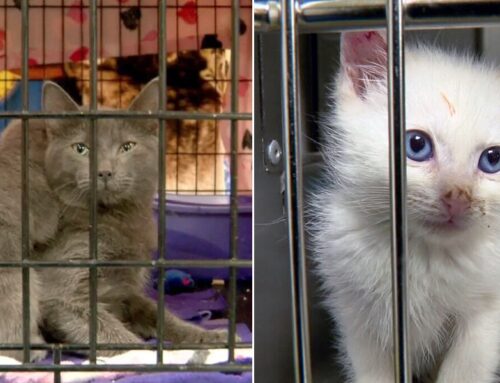
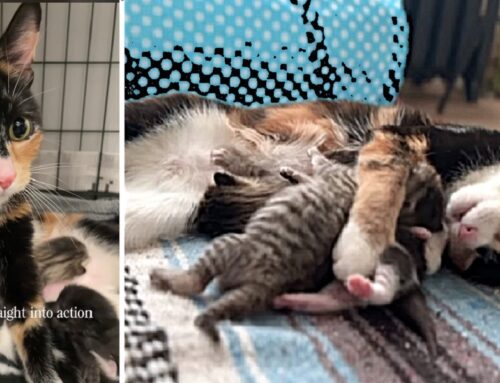
No one likes the dreaded “Cone of Shame”, especially the poor fur-baby wearing it. But what do you do for your kitten who weighs in at a measly 2 pounds? They are big enough in the United States to be spayed/neutered…but the cone is half the size of their little bodies! Without this, they can cause issues to arise after surgery. So what are the options? For all those kittens arriving during kitten season, this alternative sock onesie may be just the way to go!
*Special shout-out to Ru and Zig Zag for modeling the fashions and allowing us to help them heal in style =)
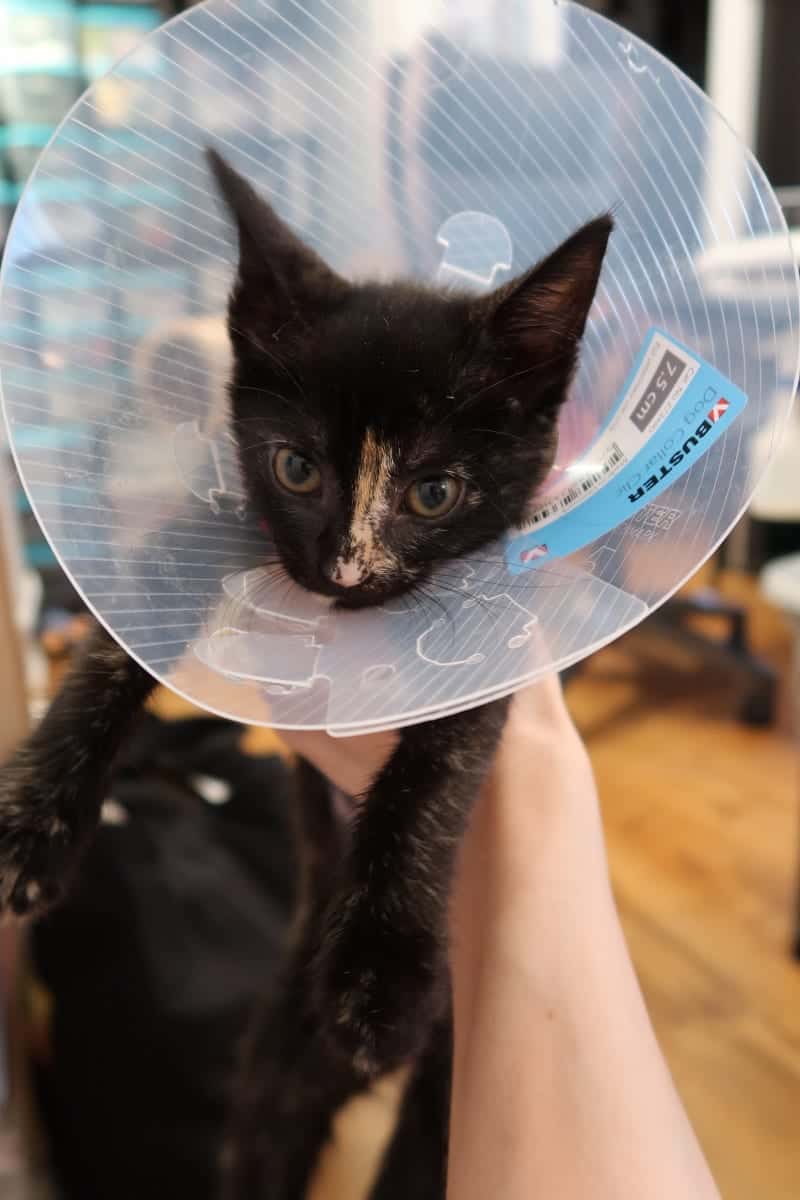
Photo: JessiCAT; JuggandZigZag – Zig Zag after spay surgery 8/30/2018
With the foster kittens residing in the Cole and Marmalade household hitting that milestone over the years, we’ve seen firsthand the plight of the young vs. the cone.
What’s even worse is that female kittens undergo a bit longer recovery period for spaying than the neutering of males.

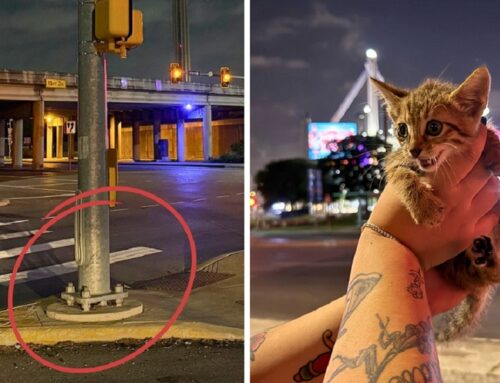
Photo: JessiCAT; JuggandZigZag – Zig Zag battling with the cone after surgery
The recovery time for either sex is still a recommended 7-10 days after the surgery and you should be aware of the following:
- No Licking the incision – This could cause the wound to open and become infected. This is where the cone, inflatable collar or even bitter tasting gels or sprays are suggested. But the inflatable collars are many times too big or heavy for kittens.
- No Grooming or Bathing – Both of these go back to not wanting the incision to get wet and open.
- Keep your pet inactive – No jumping, running, playing or strenuous activity. The best thing would be to keep them confined in a small pen, cage or carrier to ensure they rest.
- Keep them indoors – This way their bodies and the wound can stay dry and clean. You can monitor their recovery for any additional attention that is needed.
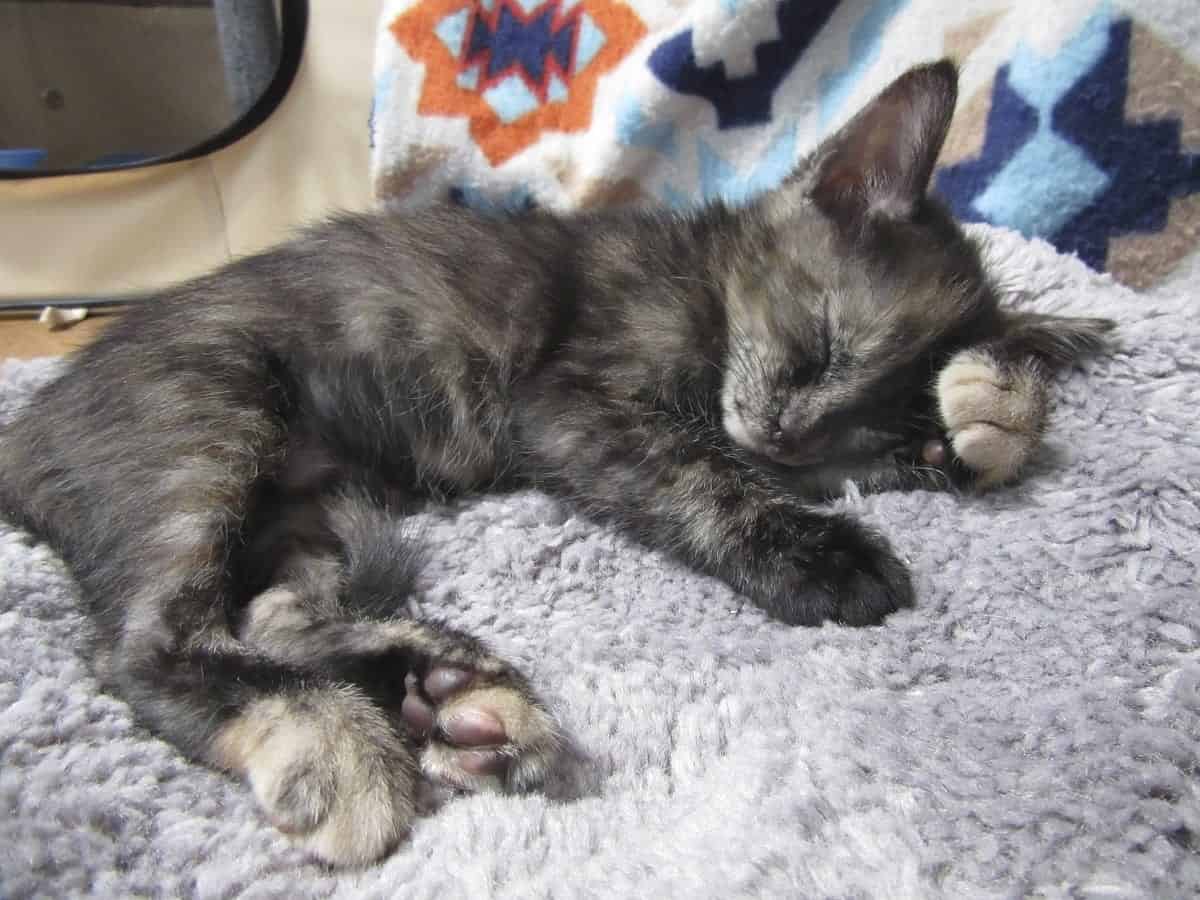
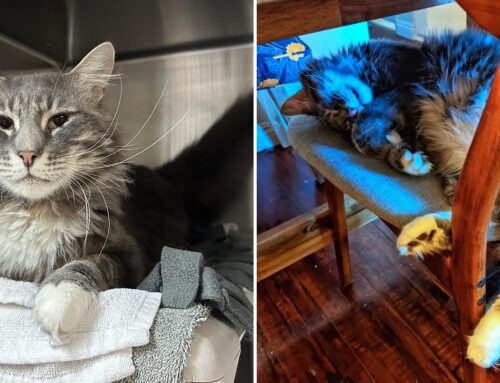
Photo: JessiCAT; JuggandZigZag – Jugg relaxing like a pro
During this period of absolute misery, when your beloved pet looks at you with the sadness and pleading in their eyes, what are you to do for them?! Tough love is a must but we’ve found the best solution (after a few failed ones), that seems to be a happy middle ground.
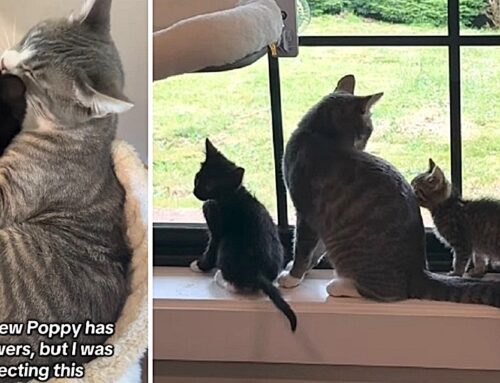
It’s the Sock Onesie!
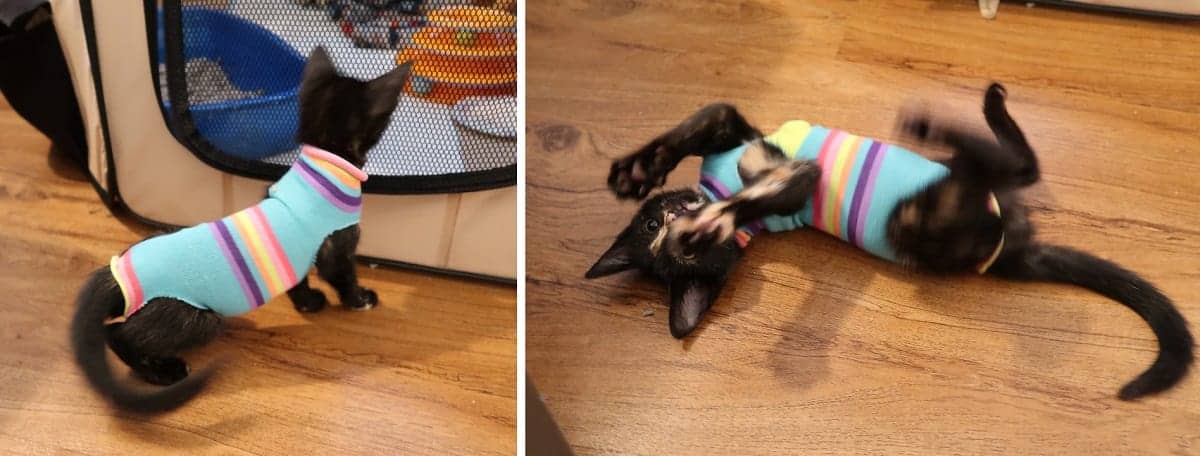
Photo: JessiCAT; JuggandZigZag – modeling her new sock onesie after surgery
In the CaM house, we are blessed to have the crafty skills of mom Jessica, or “JessiCAT”. When kitten Ruth, or Ru, of our fosters refused to relax during her spay recovery, the vet didn’t have a collar that would fit her. We were worried that she was going to open her wound fighting something too large for her body.
Our first attempt was with a lightweight foam cone which worked for a couple days. It was still laughably heartbreaking watching her maneuver around in it.
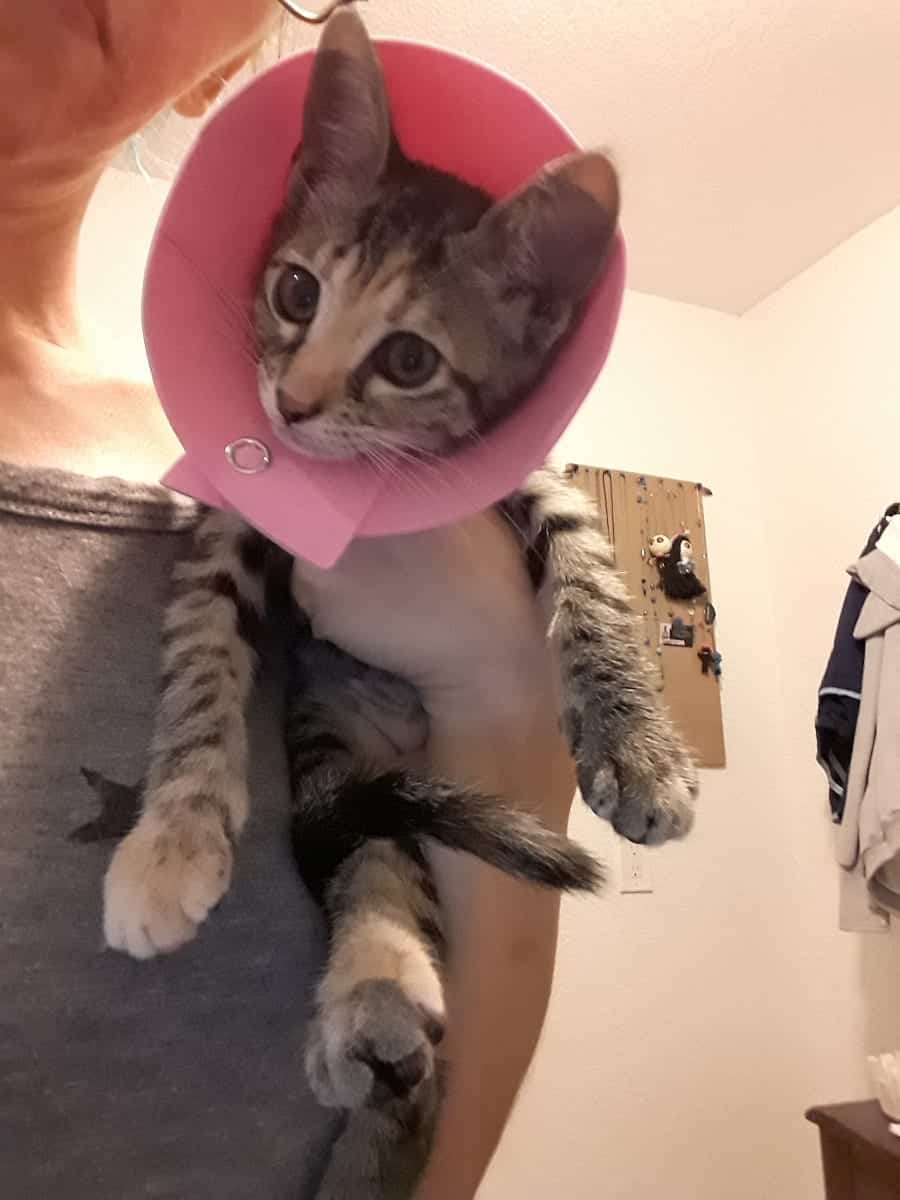
Photo: JessiCAT; JuggandZigZag – Ru and the pink foam cone
Having 2 sisters that were healing well though, it was just torturous to see her caged or battling the cone while her sisters were able to walk free. Jess researched and found some vague DIY tutorials online or stores where we could purchase post-surgery clothing, but we didn’t have the time (or patience) to wait for delivery.

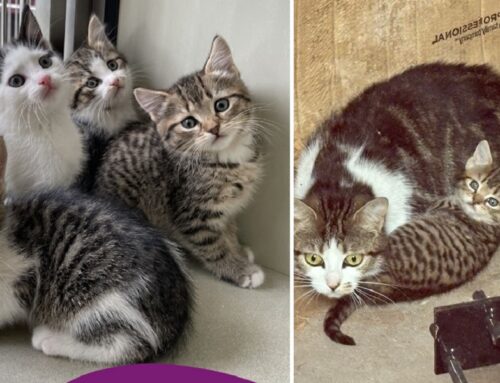
Photo: JessiCAT; JuggandZigZag – Jugg comforts Ruth in her onesie
So Jess ran to a dollar store and picked up some regular woman’s knee-highs socks. They are perfect in a 2-pack since the sock onesies do stretch a bit and you may need to make a replacement if the first doesn’t last the full recovery period.
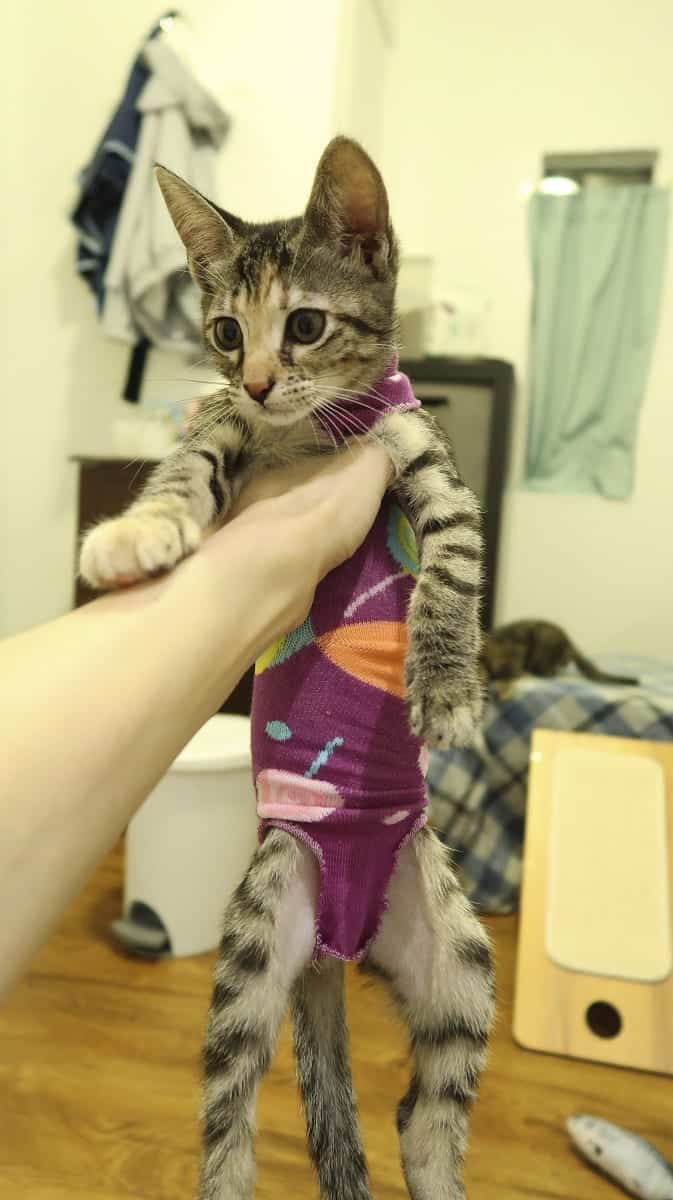
Photo: JessiCAT; JuggandZigZag – Ru donning her fancy lollipop attire
They are also in the purrfectly adorable kitten patterns! Nothing too serious =p
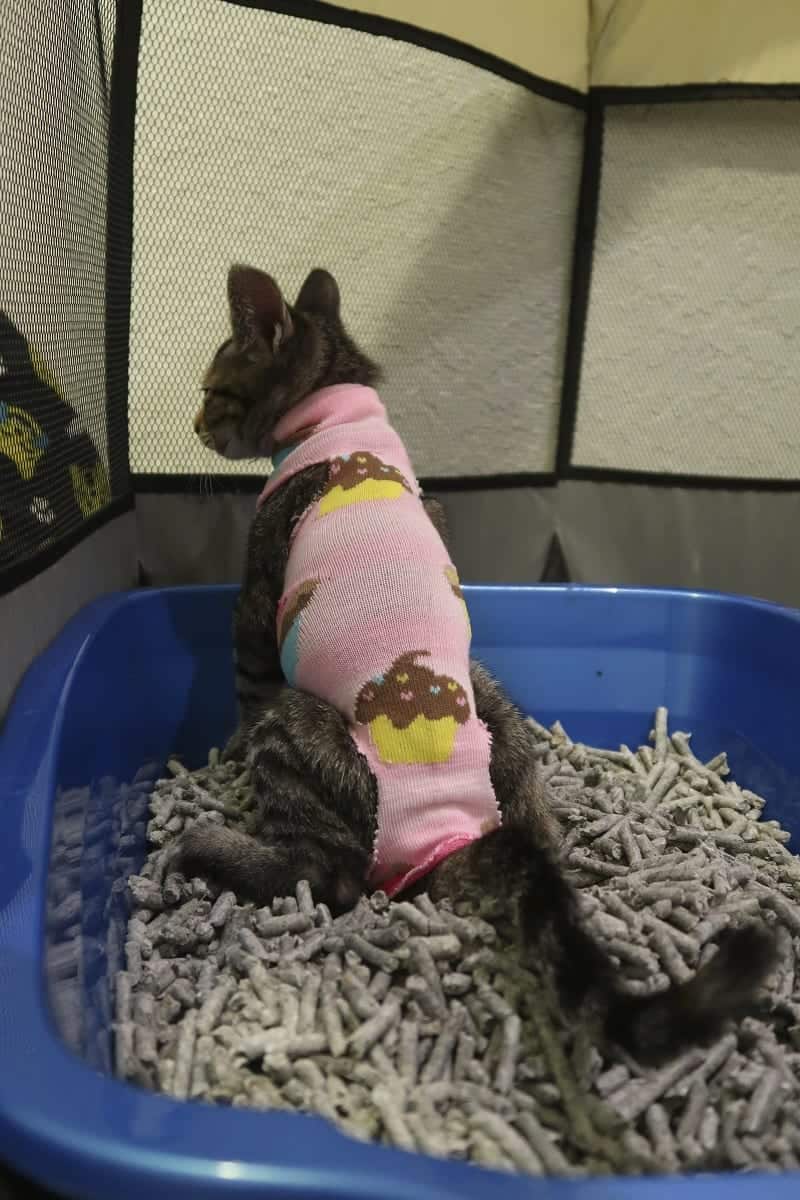
Photo: JessiCAT; JuggandZigZag – SORRY RU! Had to show how well it works even when you’re using the box! The onesie cupcake edition <3
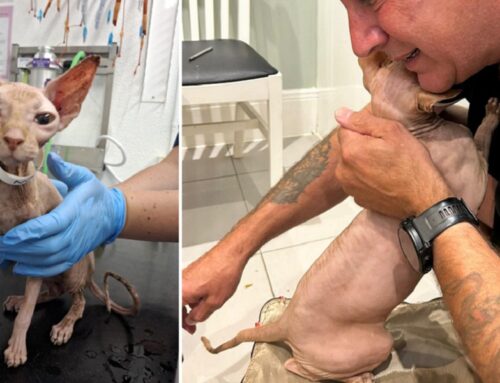
After Zig Zag had her spay surgery, she did great! She is also sporting an adorable onesie now that allows her to have movement of her limbs, bathroom freedom (with no messy cleanup) and to ditch the cone that made the petite kitten look like a satellite dish!
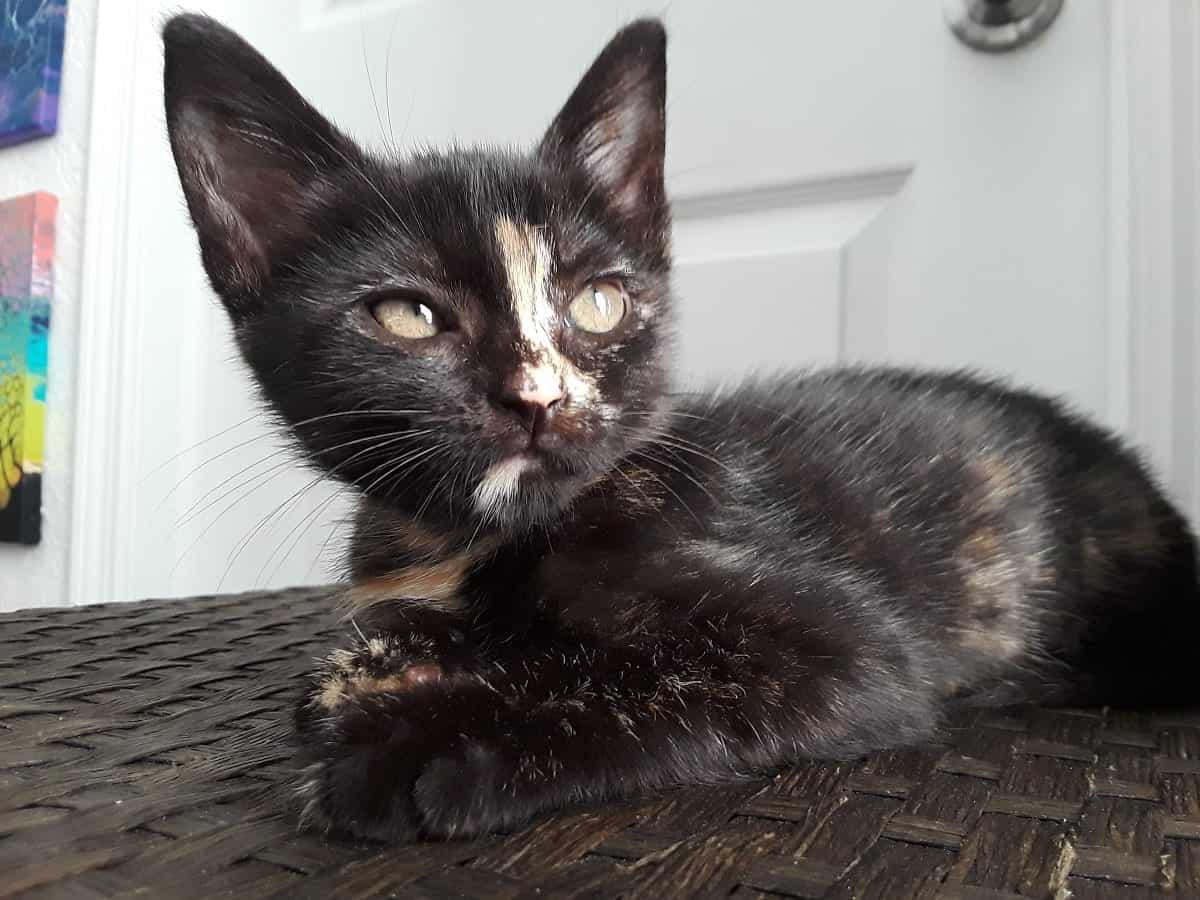
Photo: JessiCAT; JuggandZigZag – Zig Zag says “You want me to wear what?!”
Here are the instructions and some photos to help you make your own DIY Sock Onesie.
Lay your sock flat. There is usually a natural fold down the center/front of the sock.
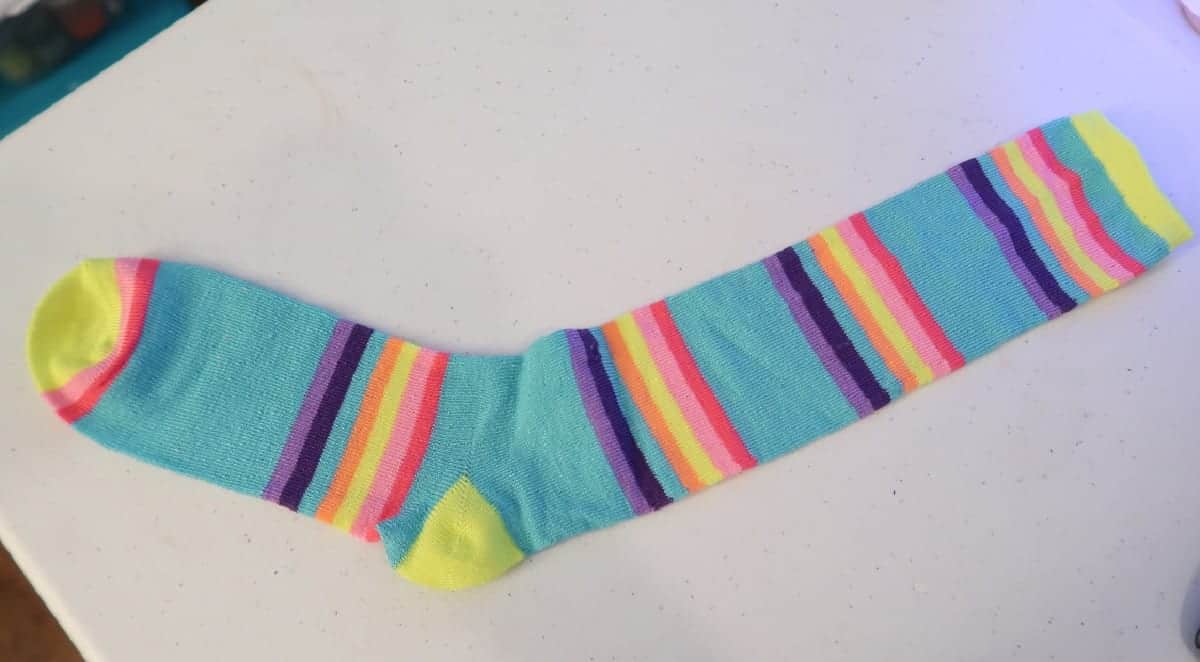
Photo: JessiCAT; JuggandZigZag
Open the sock so the fold is now on the top and bottom. The heel should be on top when it lays flat.

Photo: JessiCAT; JuggandZigZag
The tip of the toe is where the “seat” of the onesie will be so we need to cut leg holes first. BE SURE TO LEAVE AT LEAST 1/2 INCH from the toe seam and the leg holes you cut.
Fold the sock in half along the seam. This allows you to cut once, but makes 2 holes. THE HOLES WILL STRETCH!

Photo: JessiCAT; JuggandZigZag
Cut a half circle through both layers that is no bigger than 1 inch! it’s easier to make it bigger if it’s too tight.
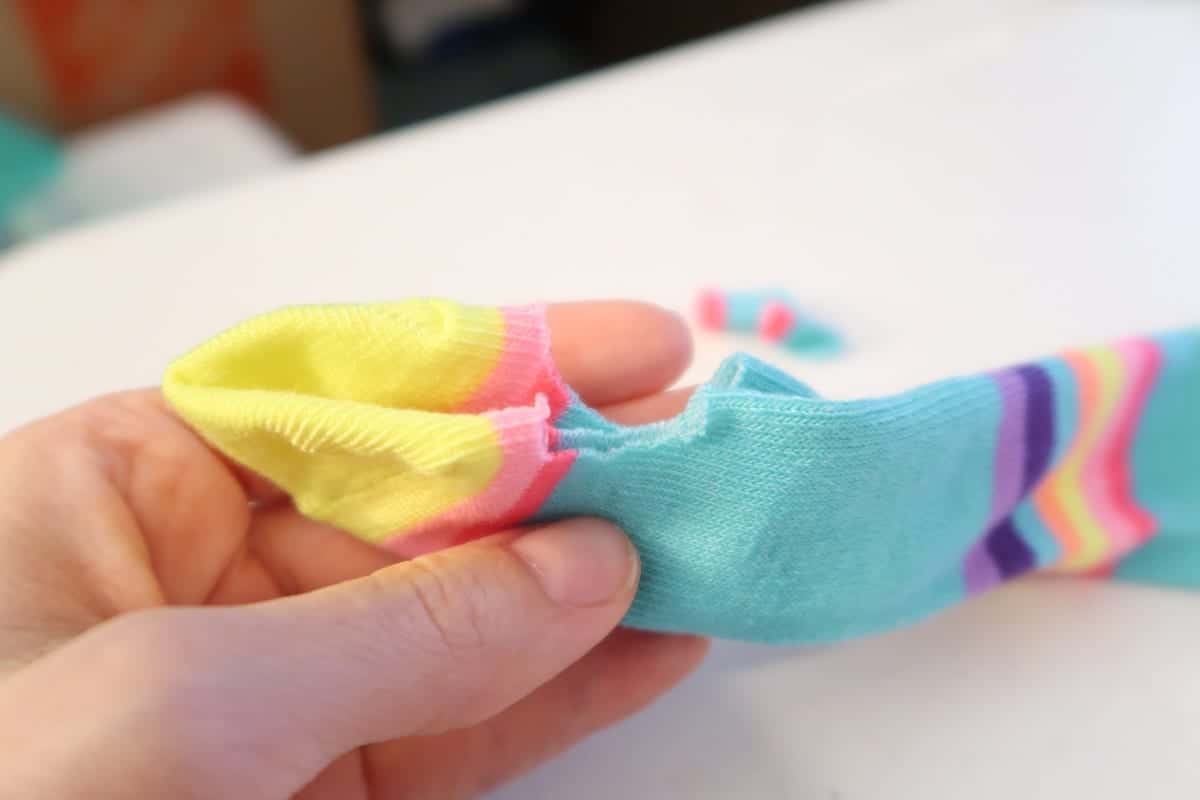
Photo: JessiCAT; JuggandZigZag
Now when you lie the sock flat again, you should see two matching holes on either side.
Trim the entire tip of the sock off JUST next to the seam – cutting the seam off.
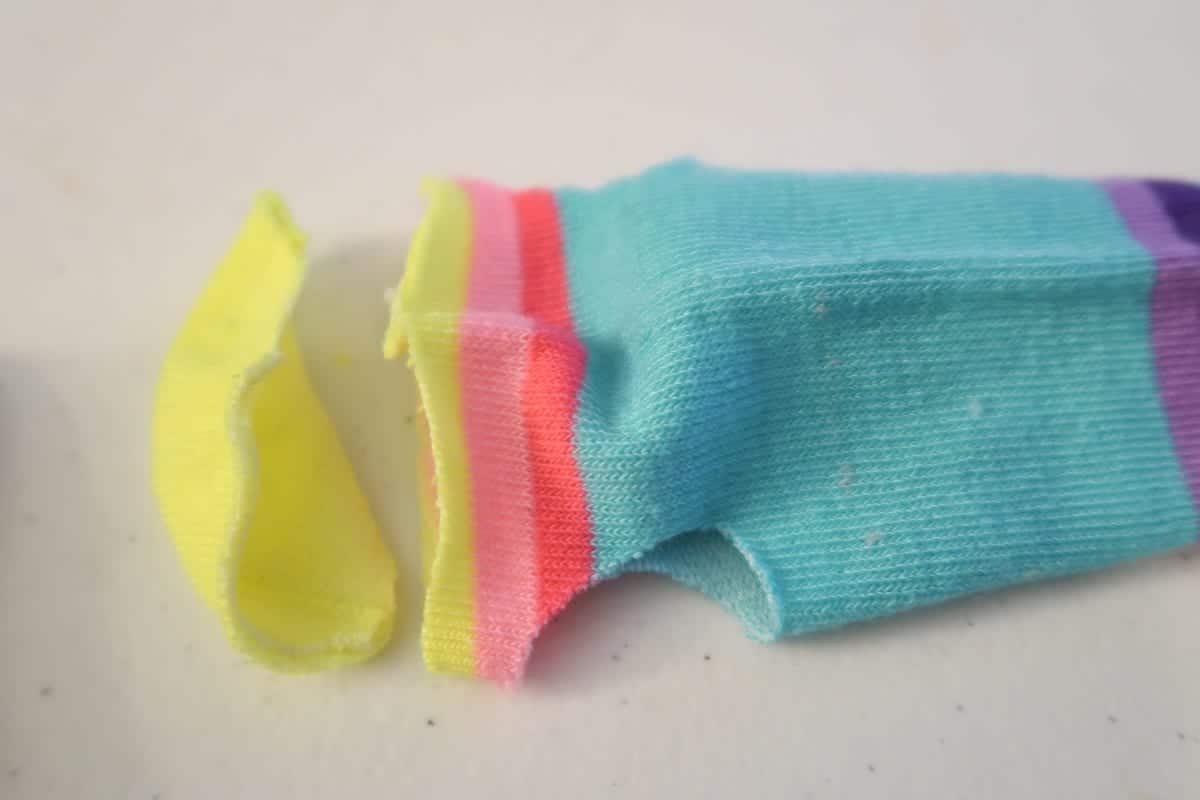
Photo: JessiCAT; JuggandZigZag
Next you need to measure (rough estimate is fine) the distance between the kittens back and front legs. This should be at least on the far side of the heel, opposite from the toe.

Photo: JessiCAT; JuggandZigZag
Flattening sock with heel up again, fold the sides inward for the next cut.

Photo: JessiCAT; JuggandZigZag
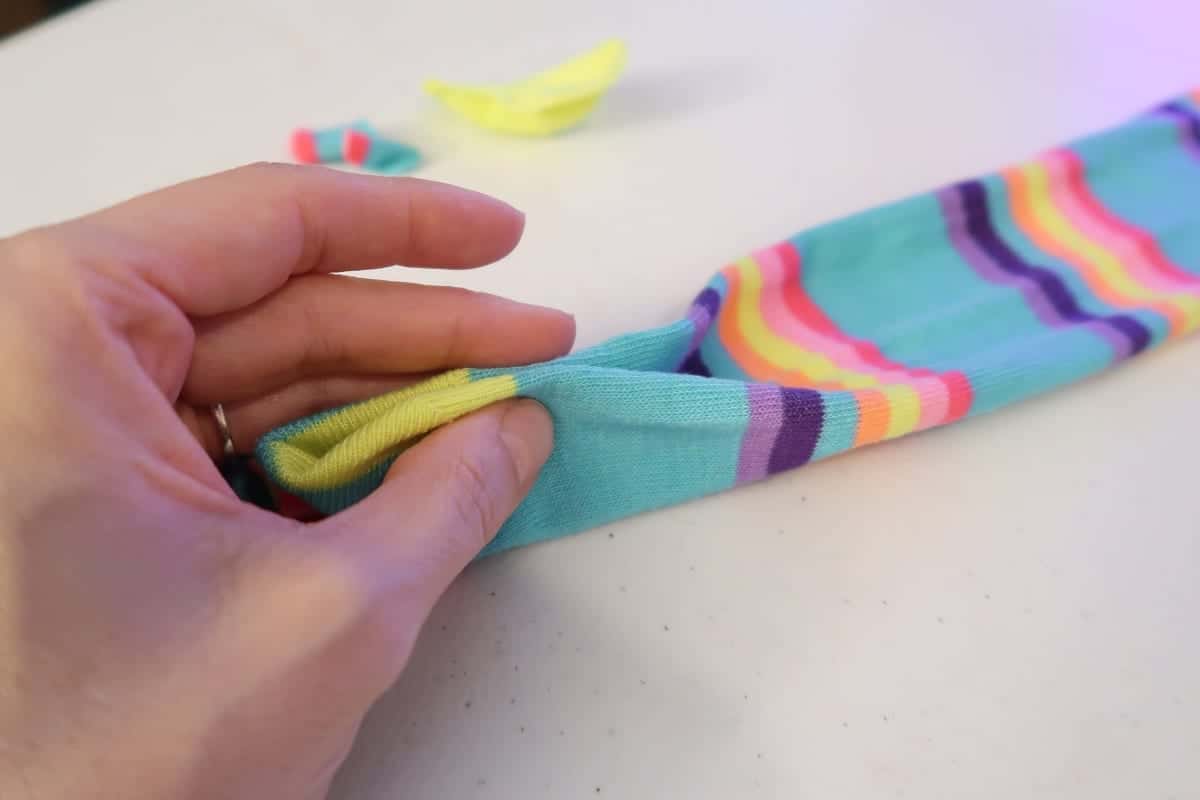
Photo: JessiCAT; JuggandZigZag
Make the half circle cut again through both layers of sock, no bigger than the inch.
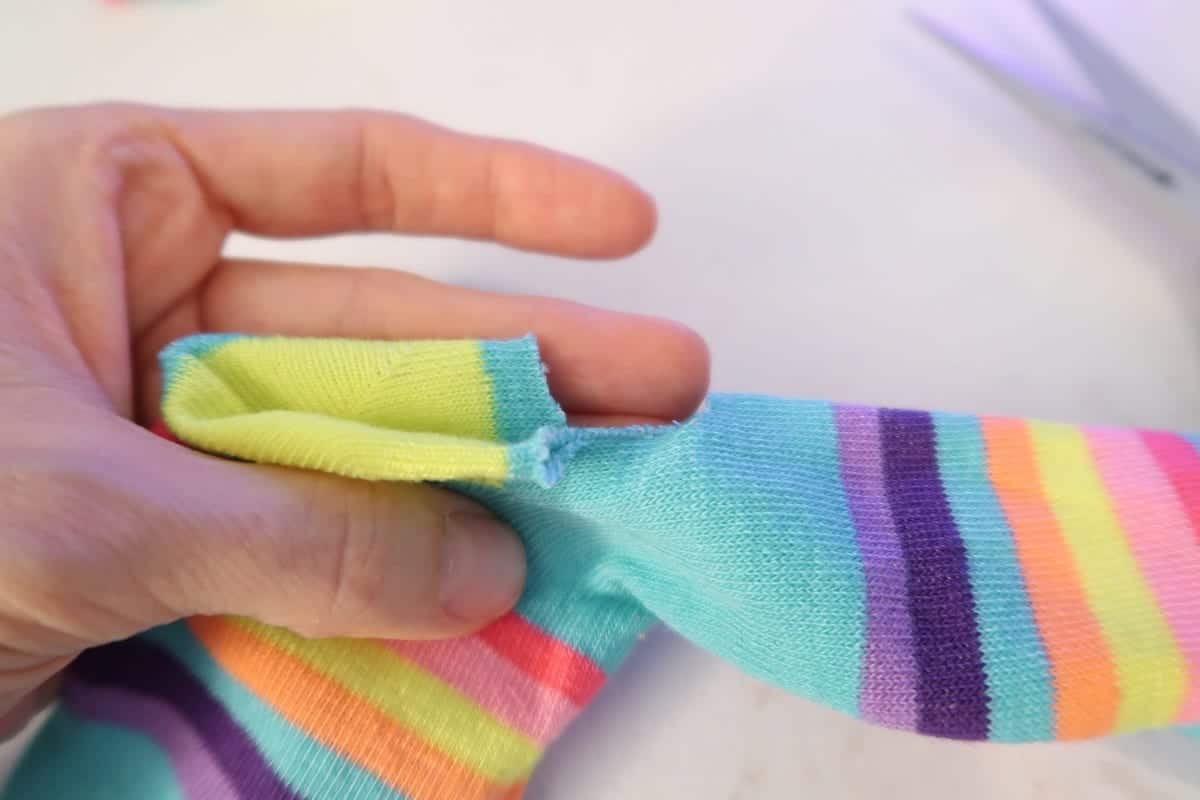
Photo: JessiCAT; JuggandZigZag
Here’s what the flattened sock should look like at this point.

Photo: JessiCAT; JuggandZigZag
The last cut needed is for the neck of the onesie. This can be a bit long so it can be folded over like a turtle-neck and keeps the onesie in place.
I usually like to go about 3 inches from the front leg holes. Cut straight across the entire sock. I suppose this means you can use a shorter sock too as long as there is enough material!
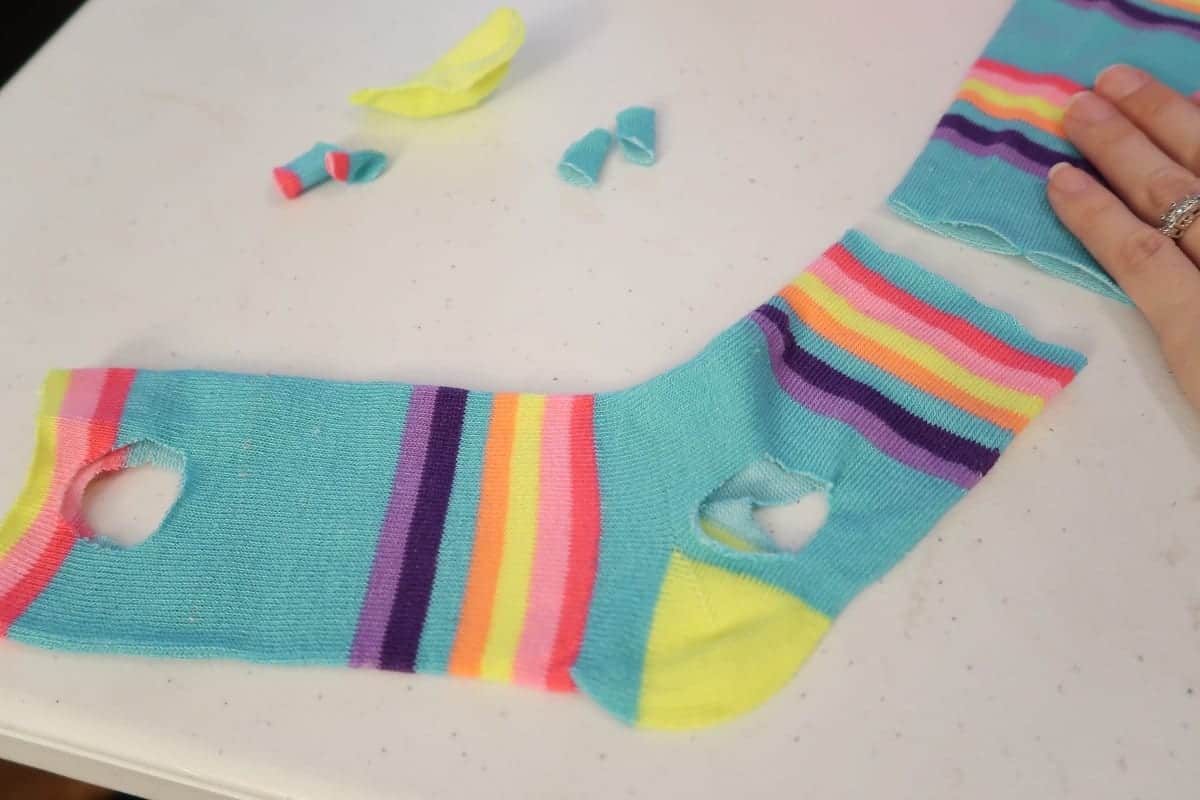
Photo: JessiCAT; JuggandZigZag
And that’s it! Easy does it =)
The hardest thing about this is putting it on your kitty, especially if they are squirmy.
Slide your hand through the entire piece, squeezing it so it’s a thin ring. Place over kittens head and gently pull each front leg through, the heel on the bottom by their belly.
Slide the rest over their body and around one leg at a time. You may have to pull and shift during wear and be sure to trim any loose strings that fray while it’s worn.
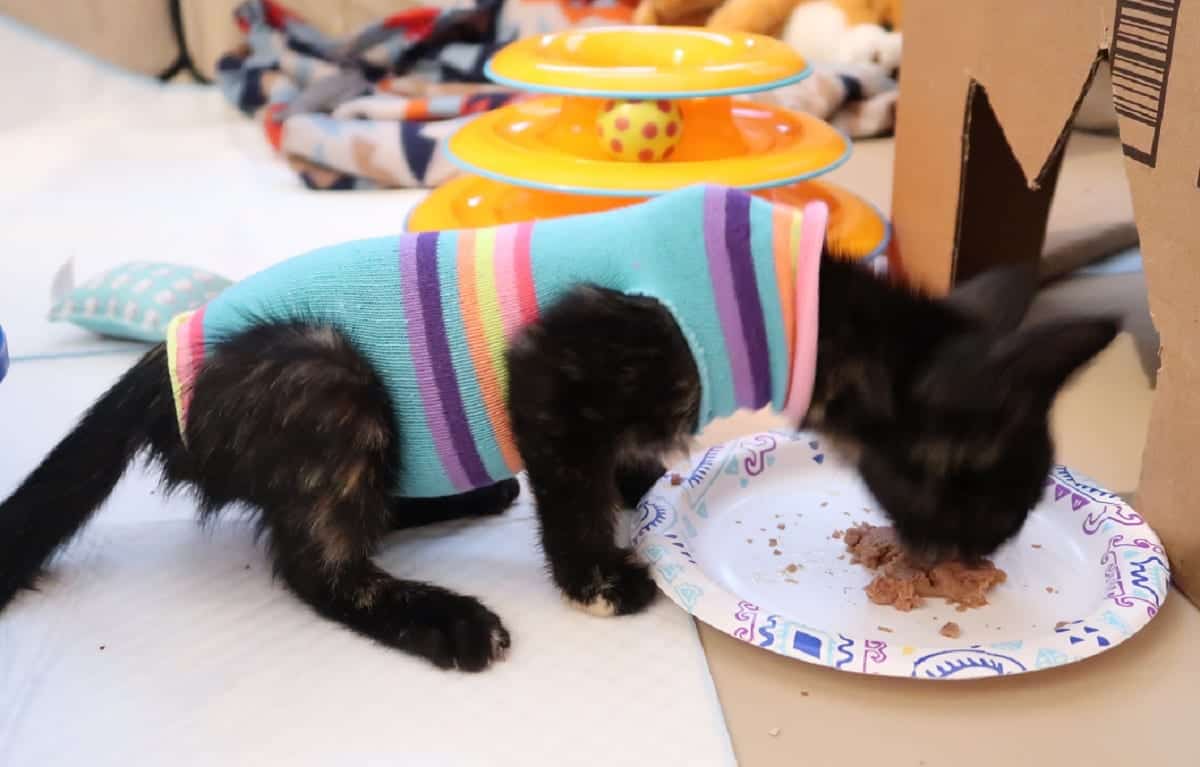
Photo: JessiCAT; JuggandZigZag
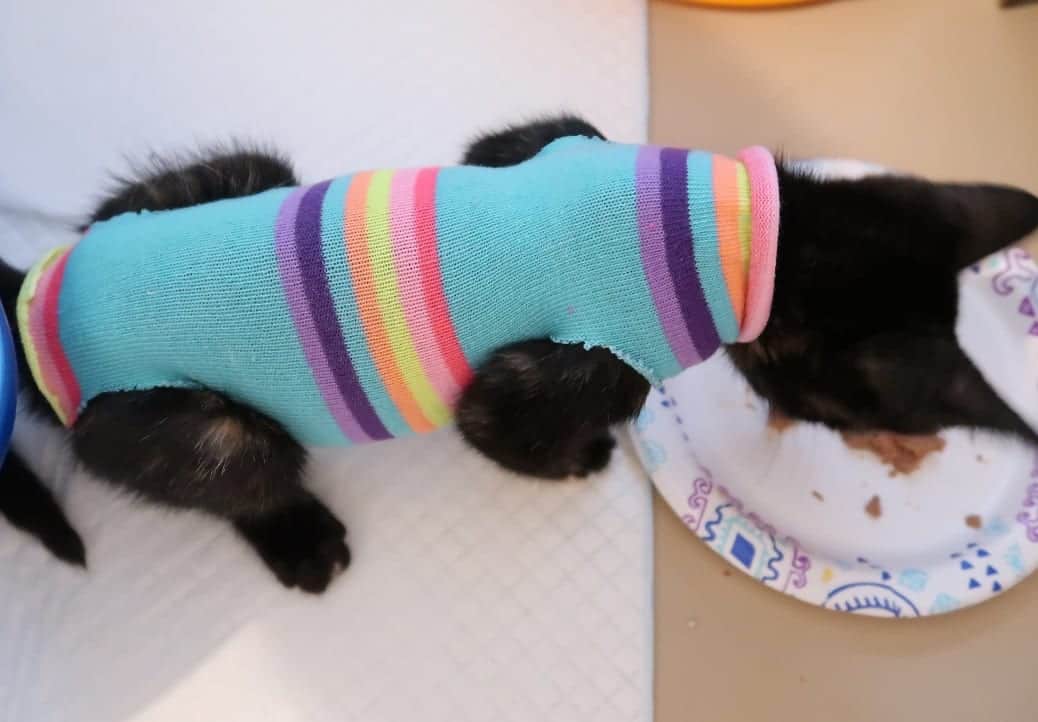
Photo: JessiCAT; JuggandZigZag
Be sure to take lots of pictures and share on our Facebook pages! =) Happy Crafting and always spay/neuter your pets! ~ Jess


Just adorable. Just so fashionable too. ??
What a great idea! I am a little confused about what happens when they potty?
Nothing =) They can use this without getting anything on themselves or the onesie because of the hole/opening in the back
I love this! Who would have thought. Maybe you will be doing a DYI video one day? Would love to see it.
Does it work the same for boys?
Boys heal a bit faster than girls usually. In our experience, having something on may still deter them from licking or over-exerting themselves so it doesn’t hurt to try!
That is great for a little girl but about a little boy where the surgery is right under the bum? Cant cover it. So any ideas? My boy is due to be” cut” in two months.
Boys heal a bit faster than girls usually. In our experience, having something on may still deter them from licking or over-exerting themselves so it doesn’t hurt to try!
What a wonderful idea.
I’m going to try this for my beloved Maui! She’s my 5 year old adopted calico (spayed of course!).
She overgrooms her tummy until it’s pink and hairless… I’ve tried all the creams, sprays, cortisone shots and pills prescribed by her vet, but the solutions are temporary.
Maybe if she can’t lick herself her hair will grow back!???
At 5 years old, she may be a better fit for a baby onesie =) Then you can get funny/cute/silly ones and just leave the buttons open or partially open in back. Best of luck!
I needed a “larger” one for my 4 year old male and was pleased to find a Disney onesie at our local thrift shop.
PURRfect! =)
We had an older cat who also licked all the fur off his belly. Our vet suggested we switch food from his regular light food to one that had a higher fat content. Worked like a charm!
Do you know the reasoning behind the diet switch being recommended? My cat is 9 years old and has started overgrowing her belly.
Dry food has a ton of added stuff that is not good. Also some prescription foods will cause weight gain
Food and/or litter allergies. Are you using clumping litter? The chemicals can be irritating to a cat with sensitive skin.
It seems the heel material would be saggy and bulky right where the incision would be-between the back legs. Appreciate this written tutorial but might you make a video, that includes you putting it on, for us denser fans?
It’s on the list for sure =)
Check for food allergies.
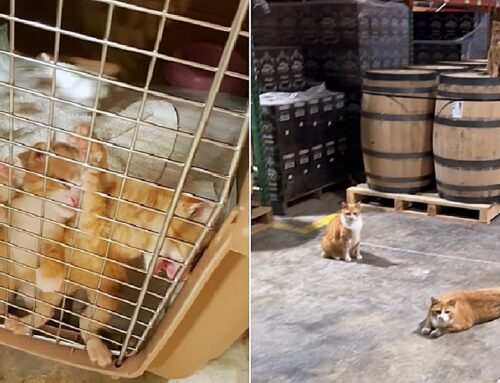
Too bad I didn’t see this about 2 months ago. That Cone was such a mess. She would drink and then promptly go into the litter pan and pick up litter (and other stuff) in between the layers of the cone. She had to have it on because she would lick nonstop. She also had surgery on her front paw for a birth defect so maybe it would have made no difference but it sure is a great idea worth trying!
What brand of litter is shown in the pic?
Thanks!
The kittens use Exquisicat naturals paper litter unscented at their age. =)
Our new-ish kitten, Ginger, just got spayed last week. The vet told us to leave the cone on for 13 days, and we have had to keep her away from 2 of our other cats, because they like to wrestle with her. We’ve been keeping her in our master bathroom, alone–except for occasional visits from us. But she is already going stir crazy, which we can totally understand. A tech at the vet’s office, when I mentioned this onesie, expressed doubts that it would interfere with Ginger’s incision healing, since it would rub against the stitches and not allow it to breathe well. But I think, since it’s been almost a week now, that it should not be harmful. And we are desperate to try anything at this point, just to give Ginger a break not only from the cone but also the almost-total isolation! Thanks so much for the photo tutorial. This is definitely on my to-do list for tomorrow! ?
What do you recommend for a cat with a tendency to over scratch their cheeks and neck? I have tried a cone, and it has helped to prevent her reaching her cheeks, but she can still reach her neck. Any help is appreciated !
Hi my cat does the same thing. We put a sock on her just like these pictures.And once the scabs healed and were dead we brushed them out with a flea comb. We got her spayed to see if it was hormonal just yesterday… Hope it helps.
Awesome my kitten got spayed today and she got the cone off within an hour of coming home as it was to big for her and my local pet shop doesn’t stock the surgical vests, I’ve made her one of these and it’s working purrfectly lol thank you.
Thank you SO much for posting this little onesie. Our sweet Parker was not happy with the cone of shame, and we put the onesie sock onto her. Changing it was easy, just slip in off, slip on a clean one. It kept her from pulling out the stitches and she was nice and warm. Thank you
My foster kitten immediately did the flop and roll with the onesie. I tried making the holes bigger but she was not tolerating it. I cut off the back end to see if that helped but still the rolling and squirming and not “able to walk”. Then I cut off the top so it was just a tube and she was able to scootch out if it in 3 secs. I couldn’t believe it. So now I just have it rolled around her neck like some of those more comfortable looking “cones”. It does seem to not bother her very much and does seem to make it less easy to lick so we may just have to get buy with this.
JessiCAT, I meant to say overgrooming, autocorrect wants to change it to overgrowing. I wish I could give my cat wet food, I know it is much better for them. She turns her nose to any kind of wet food and even those squeezee treats. I’ve tried many flavors and brands. She likes her dry food, blueberries, honeydew melon, olives, and lettuce, to name a few. But none of the wet foods I have tried.
Same thing maybe, with allergies maybe making skin dry?