Jess here, otherwise know as the Cole and Marmalade mom and experienced cardboardologist. You know, someone who is a pro at crafting and building ridiculously over-the-top cardboard creations? In this case though, when you are a cat mom/servant, it’s imperative you offer your feline overlords boxes whenever possible. We all know cats love the boxes the expensive toys we get them come in. So why not go directly to the boxes and skip the other steps?
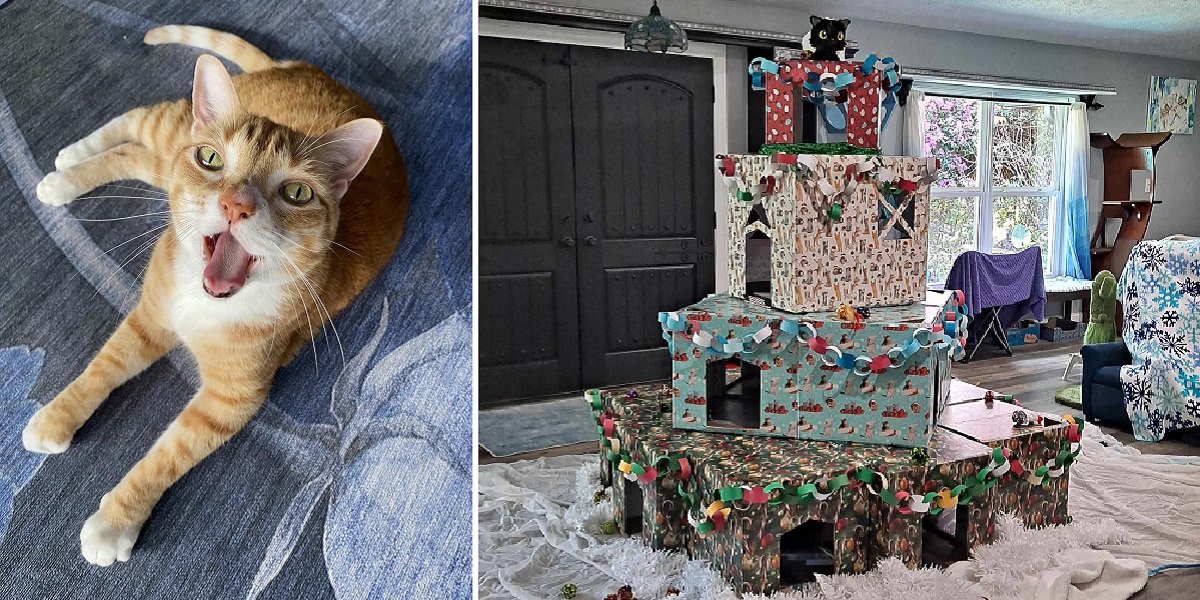
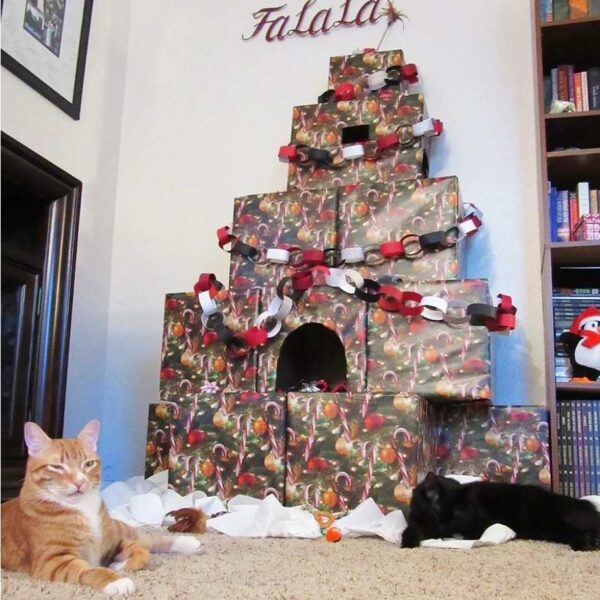
Well back in 2013 when Marmalade joined Cole and our family was complete, I began indulging in cardboard crafting. Because I finally had a reason to! And we’ve never looked back. When we FINALLY bought our furever home in November 2021, plans began forming for even bigger and crazier cardboard creations. So when the holiday season in 2024 rolled around, we realized it was 10 years since the first Cat Proof Catmas Tree. I knew we needed a Catmas Tree 2.0. With 6 cats and angel Cole watching over the kitty chaos, it needed to be special.
So this cardboardologist got to work.
You may have seen my many “what is wrong with that crazy lady” creations over the years. “Purramids”, “Halloween Catsles”, “Purrate Ships” and a “Purrbie House” have come from this kooky mind. But I’ve always failed in providing the details of what I do to really make these catty creations last for weeks, months, even over a year like the Purrbie House! I added the videos below for your entertainment =)
The nutballs here are JUST as goofy and destructive as your cat may be, I promise! They chew on cardboard edges, tear the floors up to make their own scratching tile designs and puke right where you can’t reach. So how do these boxes hold up? Well sit back and get ready to let your mind wander with all the possibilities you have at your pawtips now.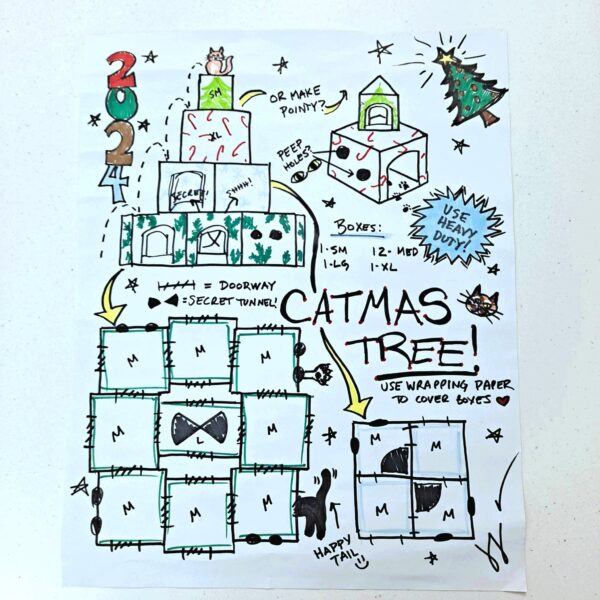
I’m going to share the design and process for the newest Catmas Tree 2.0, so I expect to see lots of cat servants with the cardboardologist degree out there! 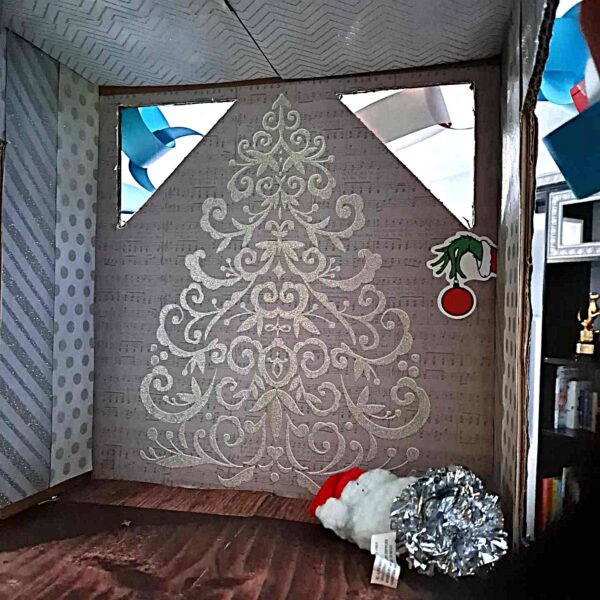
The supplies of the cardboardologist cat gods.
The most important thing, and I cannot stress this enough, is to USE HEAVY DUTY (HD) BOXES. Lowe’s Home Improvement store has the best ones, but you can find them at that “other” home supply chain too (not my favorite bc of their prices vs quality). So even if you pay a few more cents at Lowes, it’s SO worth it.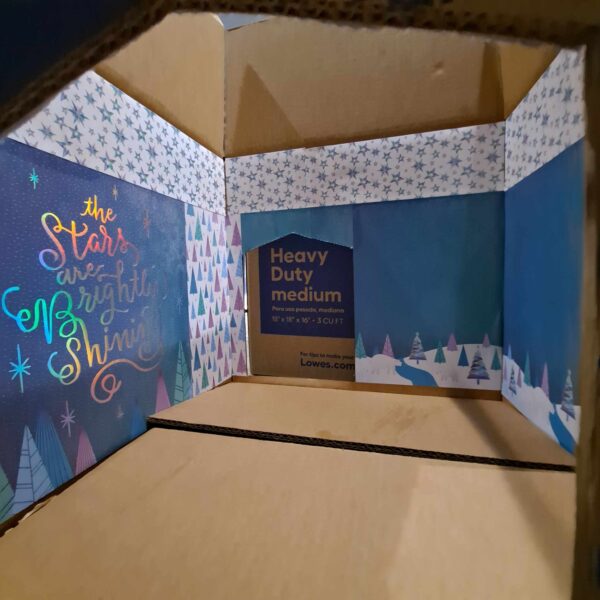
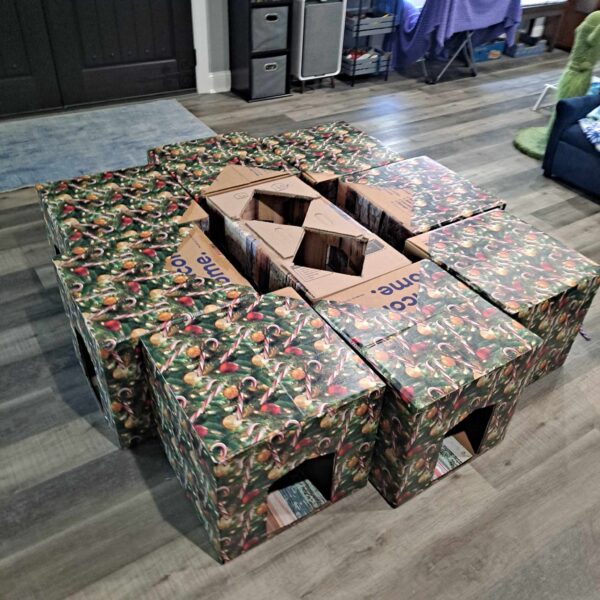
And you will need to pay attention to the BOX SIZES very carefully to ensure your design fits together snuggly. This is where I geek out with graph paper after looking up the box sizes (LxWxH) online BEFORE I purchase them. Later, stack your boxes in the planned out formation to mark where windows and doors will go. You can also mark what parts are hidden so you DON’T DECORATE there. Saves you a LOT of time and hassle, I promise.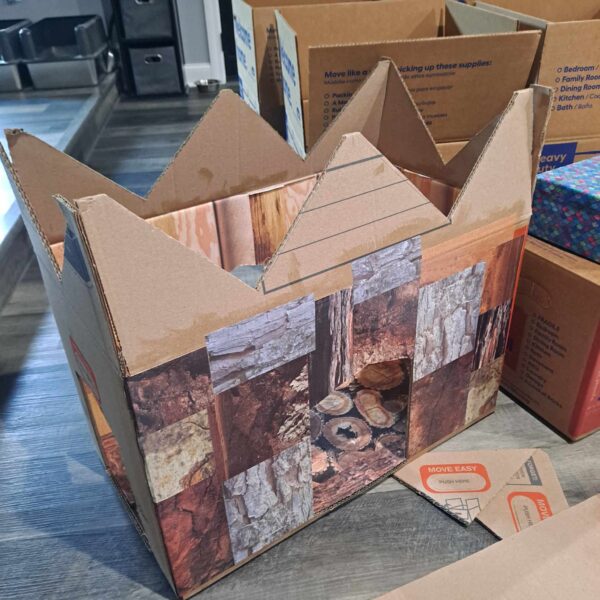
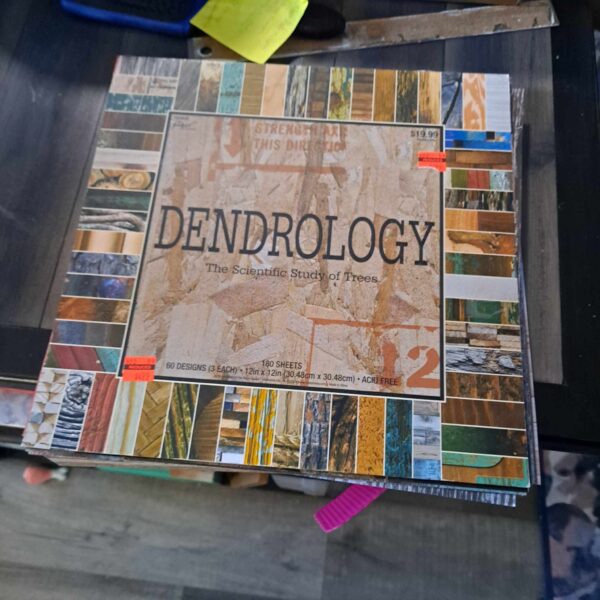
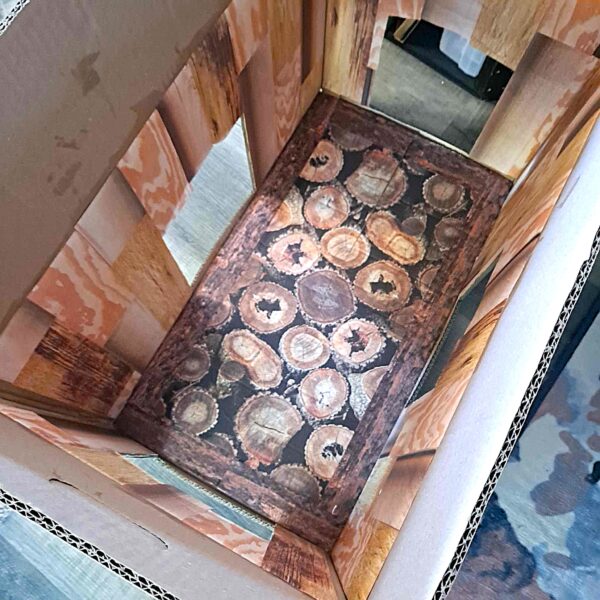
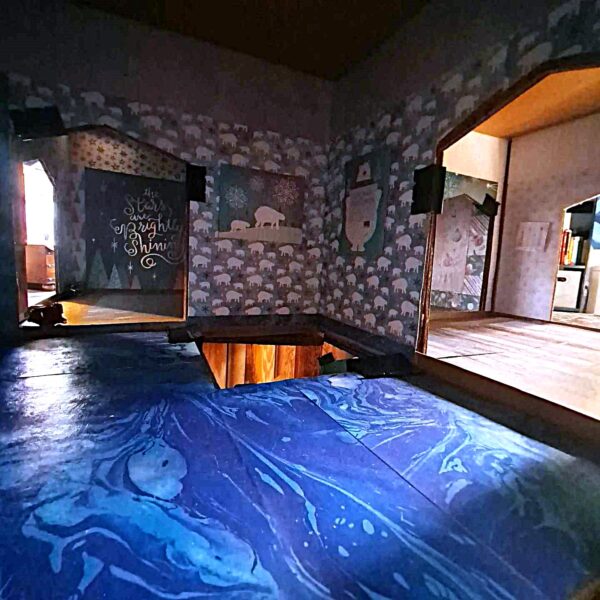
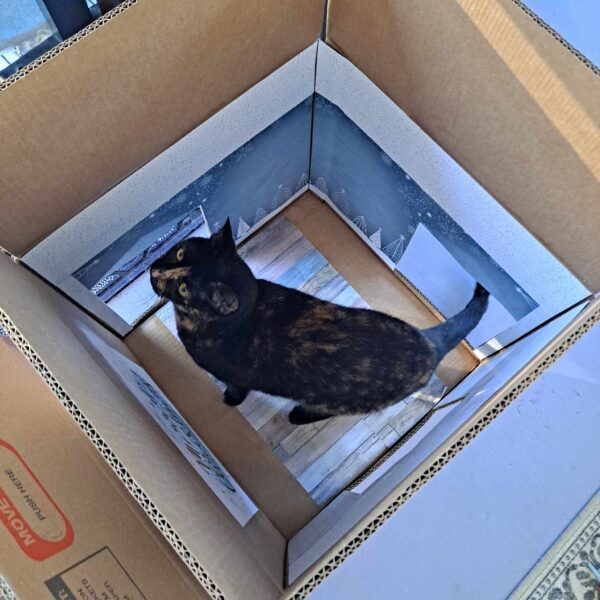
*TIP – if you are decorating the boxes inside, I prefer to use SCRAPBOOK PAPER which comes in 12 x 12 inch pieces at the largest. It’s heavy duty and comes in a ton of designs. Stock up whenever they have sales at Michaels, JoAnn’s, etc…because you will use a LOT but it’s worth it. The medium Lowes HD box is 16x16x18 so I can plan to use a sheet and a half on each wall to decorate the insides. Believe me, this is a huge bonus later so plan accordingly. One of my favorites I use that I got years ago is a dendrology (the scientific study of trees). I use it all the time for “flooring”.
For perfectly straight lines in windows and doors, you will need a METAL RULER & BOX CUTTER and EXACTO KNIFE. I swear it makes all the difference in the world to use a fresh new blade too. The box cutter is for larger holes (doorways) and the Exacto knife for the smaller, delicate trimming of decorative paper. If you need to cut cardboard and want to use scissors, there are HEAVY DUTY SCISSORS you can get online.
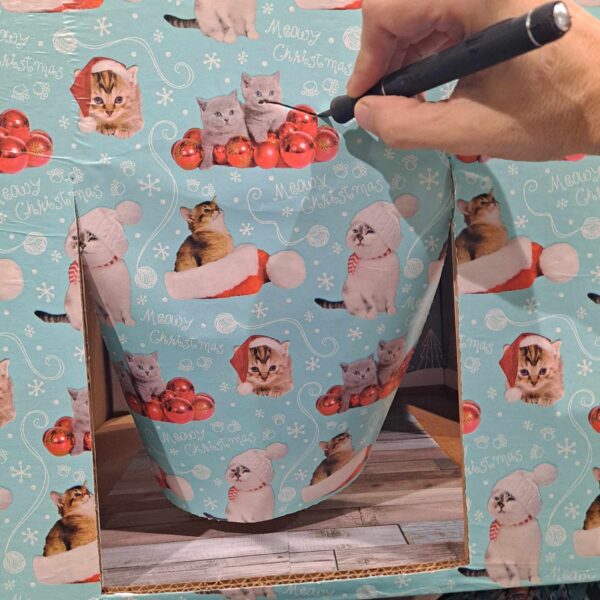
Here, I’m trimming the wrapping paper off the doorway opening after decoupaging the box completely. It’s much easier then trying to cut out the spot and then Mod Podge the paper to the box.
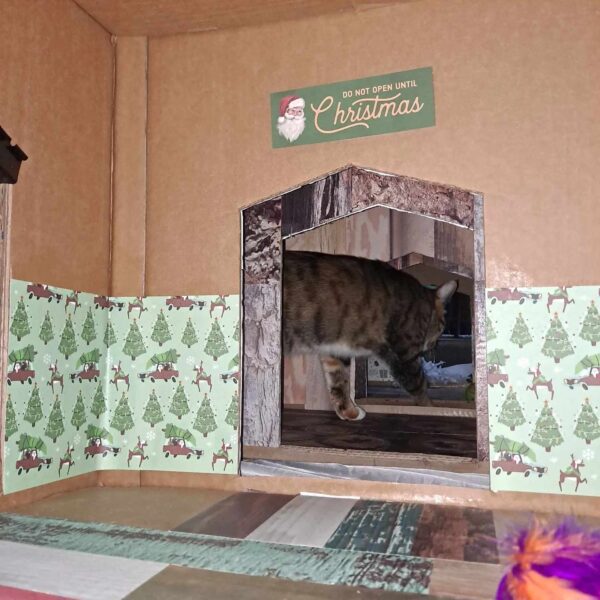
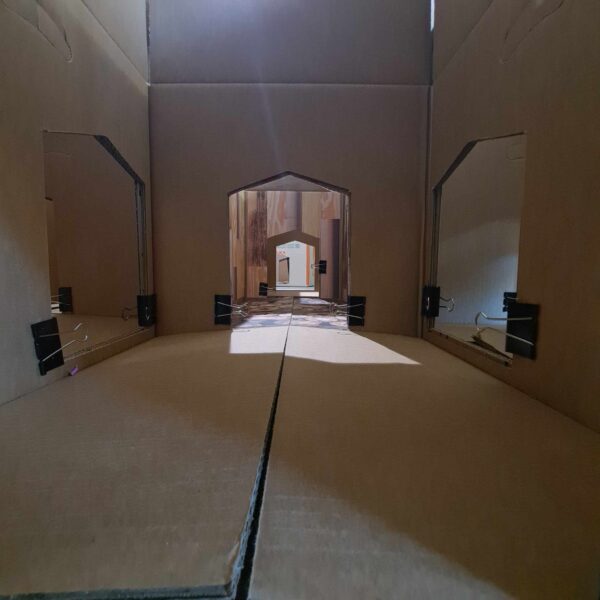
*TIP – cat doorways I usually make NO smaller that 8 inches wide and 9 inches tall. Cut your first one and then use that as a template for the others. Line the boxes up with one cut doorway to the next and trace the EXACT SPOT where the door is to go. This way your design will match up and the binder clips will fit securely.
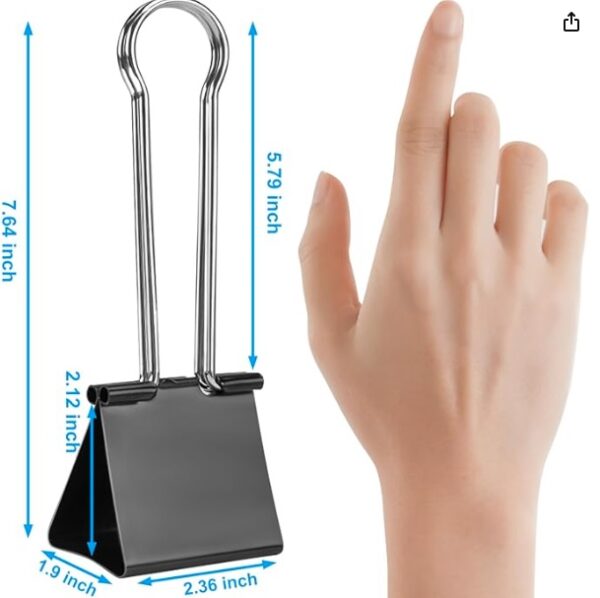
I use a GLUE GUN/GLUE STICKS to glue and secure them where needed to close the flaps. But to hold the boxes together if I don’t want it to be permanent, I use GIANT BINDER CLIPS. This is great when the cardboardologist goes bonkers and builds a huge creation – not that I’ve ever done that heeheehee. The clips are used in each doorway (2 each) and I had to buy MASSIVE ones to hold the base and 2nd levels together on this creation. I DO take the metal part off for the duration to not block the design though. But when the piece is ready to go to it’s final resting place, just pop the clips off and reuse on your next build.
To make your creation WATERPROOF & SOLID, I use MOD PODGE to decoupage the scrapbook paper designs onto the box. This keeps it from pulling up when it dries or when cats “move in”. Puke? It’s gonna happen, but if you mod podged it, it’s easy to just wipe off. This will also harden up the cardboard and truly turn it into a creation that will last.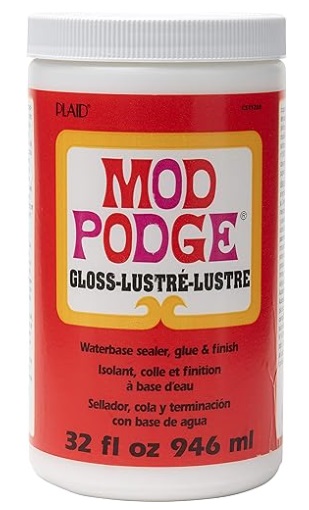
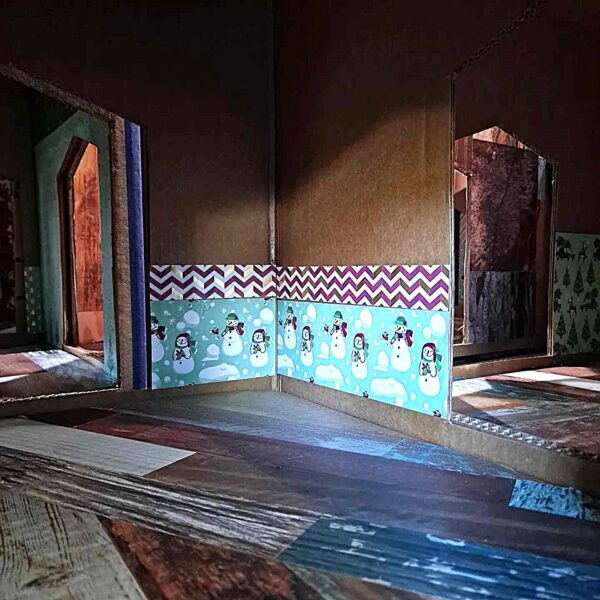
Upcycling at it’s finest.
For this Catmas Tree 2.0, I knew I wanted to decorate the outside of the boxes/tree with WRAPPING PAPER. Back in 2014, when I made the first Catmas Tree in California, I had purchased a ton of tree design paper. Then we dragged it to Illinois and back down to Florida. Enough, let’s finally use this up! So for anyone who truly has the “over the top” gene such as myself, you can “wallpaper” the boxes. Yes, it’s as horrible as it sounds haha. And if you hate wallpapering, you will hate doing that. But oh my snowflake, does it look crisp and clean when it’s done and securely covering the boxes. And the cats have no problems with scratching it off or ripping the paper.
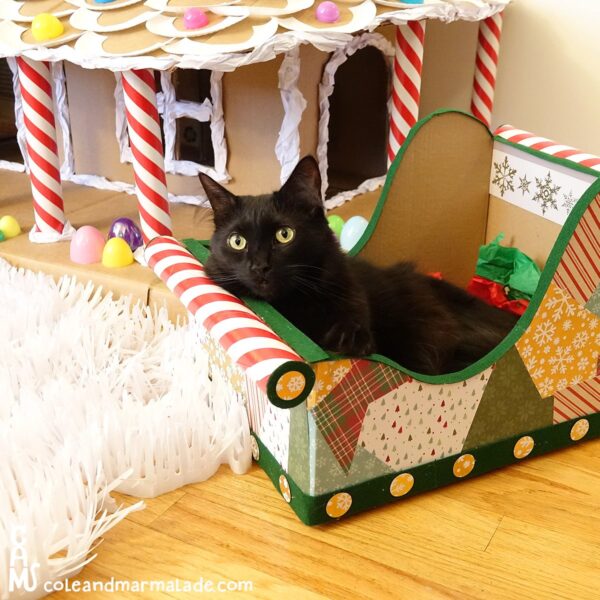
*TIP – Another beautiful decoupage design is to cut up large misshapen pieces and then patchwork them like I did on the 2017 Mini Sled box below.
Speaking of paper, remember making paper chains when you were a kid? Yeah, they make great cat toys too and obviously come in any color. Cut the strips and secure them with a piece of tape and boom, CAT PROOF GARLAND.
Don’t forget the cat proof toys for added extras too! We used sparkly crinkly toys this year that we got on Amazon to represent “ornaments” that we don’t have to worry will break.
The best (and most heart wrenching) thing about this Catmas Tree 2.0 is our gorgeous tree topper; Angel Cole. 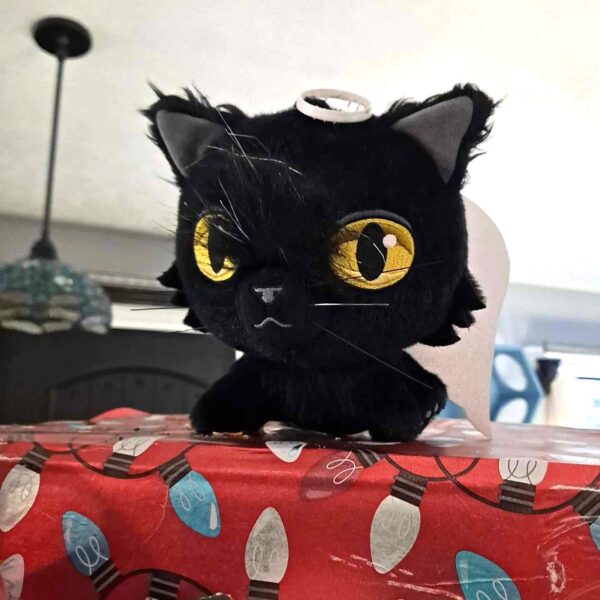
So there you have it! Get to work because we want to see some AMEOWZING cardboardologist designs out there now! Your kitties will thank you =) Here’s the finished video with the CaM Fam exploring their new tree.
